
Last week Ben and I embarked on the biggest, longest and most ambitious Depop shoot yet. Luckily, the weather stayed relatively good for most of the day and we managed to smash out all the photos, resulting in a total of 1,177 shots! I tend to share details on shoots once a month with my Depop preview posts (see this months preview here). However, I've been receiving quite a few messages through my Depop and Instagram page with questions on my photography for the store and how I go about the presentation of my pieces. It's something that has come quite naturally to me as I'm a major perfectionist and lover of good photography. But, I'm still learning with every shoot and every sale how to do this strange lil job! Here are some (hopefully) helpful tips on how I personally like to present my Depop items and the way I run my business. Feel free to message me if you have any additional questions, I'm always happy to chat!
I tend to thrift at least twice a week, so by the end of the month I have quite a large haul to get photographed. However, this shoot was exceptional, with pieces from Auckland, all over Wellington and some items from my personal collection too. It took us over four (slightly frustrating) hours and a lot of snack breaks / motivational music. I'm lucky enough to have a very patient and helpful boyfriend who takes every single one of my photos, which is no mean feat. I'm super picky and very much a perfectionist, so Ben will often be (lovingly) forced to retake shots over and over again until I'm happy. I understand that not everybody has access to a photographer or a helpful friend/partner to assist them. However, some of my favourite Depop sellers and online stores use mirror photos, tripods and self-timer to their advantage in a really clever way. I'll always prefer to have someone take photos for me and if you can swing this too, I'd highly recommend going to that extra effort. But, if that's simply not possible try getting crafty with a mirror, or prop your camera up in front of a window and set that self-timer.
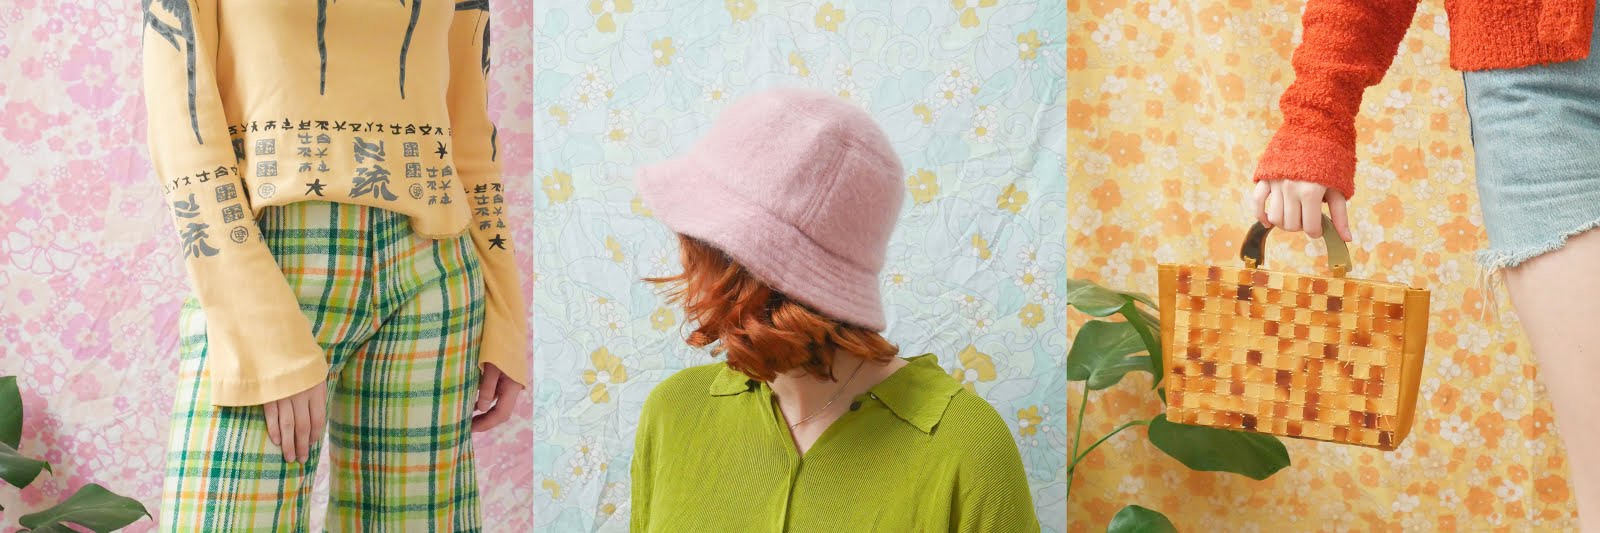
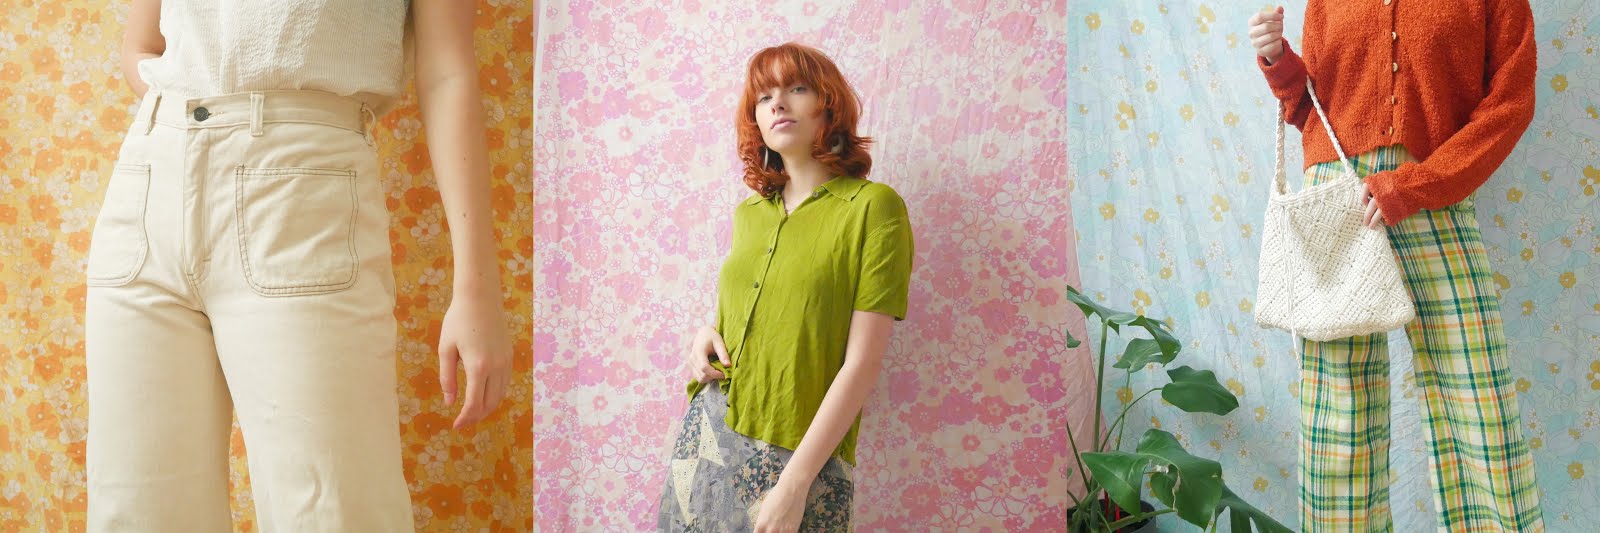
My number one tip when it comes to presentation will always be colour and lighting. These two aspects are absolutely key to producing click-worthy pics. I like to use vibrant and colourful backdrops with a subtle pattern. I invested in a comprehensive collection of retro bedsheets from TradeMe at the start of the year and hang them in front of my wardrobe doors for the best lighting. If you're thinking of trying this technique out, I'd recommend going for light pastel-like colours and the more faded the pattern the better, you don't want your backdrop to distract from what you're really trying to sell; the clothes! I will always layer a light pink sheet underneath my main backdrop to ensure that as little of my wardrobe doors/walls are showing. This is also a great way to add another tone or colour to your photos, everything counts! I've been having fun with the colours I use on the floor with this shoot too. Usually, I stick to a light pastel sheet that provides a blank canvas and doesn't take away from the focal point of the image. However, this time I played around with a warmer toned blanket, which I think adds another element of colour and depth to the images where my legs are the main focal point.
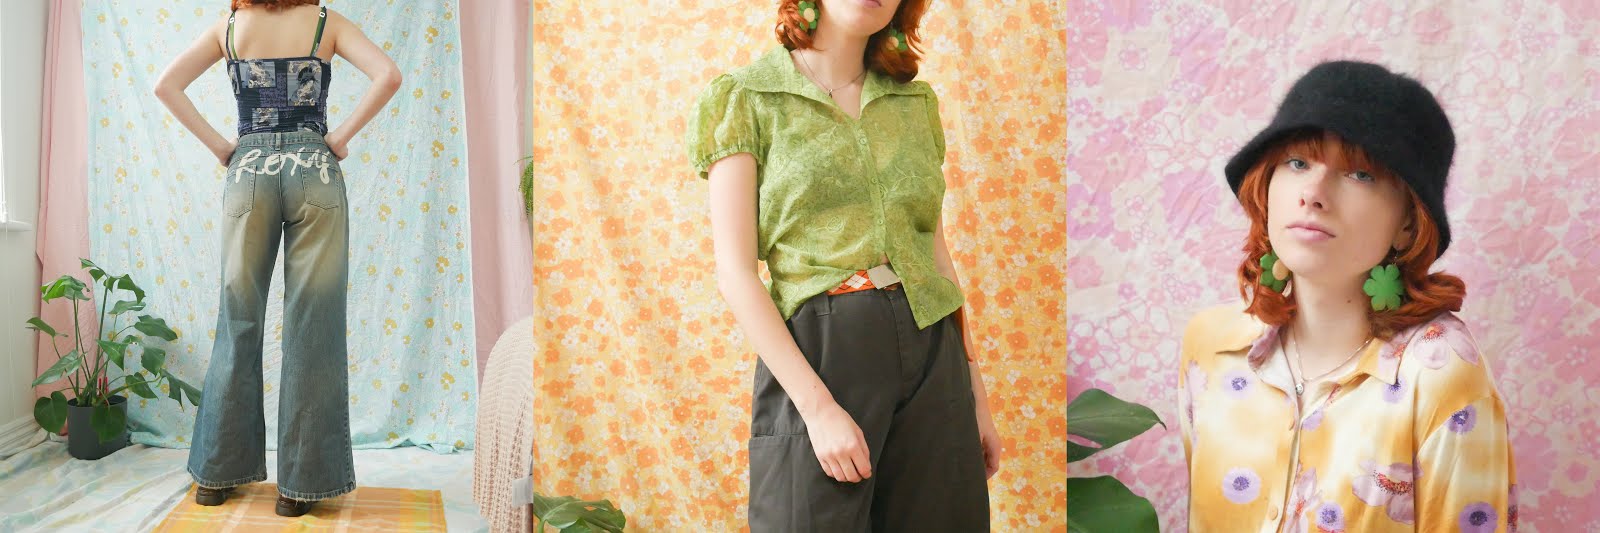
Of course, lighting is always key and my preference will always be natural lighting. I've experimented with different spots in my house for the best direct lighting. But I always end up back in my original location, next to a great big window in my room. If the sun is shining, it's perfect. I love the way the directional light looks, with the different textures of the clothing. It also helps to accentuate slight curves and folds in the backdrop, which I really like for adding a bit more dimension to each shot. If you don't have access to directional lighting, I would recommend anywhere that gets a bit of sun. Artificial lighting can definitely work in some contexts, but I always tend to prefer the more warm look of natural lighting, plus; it's free!
When embarking on a major shoot like this one I like to first dump all of the items I'll be shooting on my bed and start sorting. I categorize into three simple plies; blue sheet, pink sheet and yellow sheet. I try to keep all three piles as even as possible and make sure to avoid obvious no-nos such as pink shirts in front of pink sheets or warm-toned pants in front of the yellow sheet etc. There's a lot to be said about complementary colours and selecting tones that work well together. I'd love to gain more practical knowledge on this but I do think a lot of it comes from instinct as well. Throw pieces together that work and use bright colours to make more simple or monochromatic pieces pop in each photo. When shooting black, white or cream pieces I like to throw a bit of colour in there too, whether that's through my earrings, a funky hat or layering pieces underneath the item.
Although each photo turns out bright, colourful and relatively uncluttered, behind the scenes is a different story. I have multiple pairs of shoes, pants and accessories strewn about my room to help assemble each outfit. I'll often call on my favourite pair of green plaid pants to spice up any photo with a bit of colour and I'll nearly always reach for my big green flower earrings too! It helps to style up each look as much as possible, whether that's with pieces from your own closet or other items you're selling. This helps the buyer picture how they would style the garment themselves and adds to the overall look of your store. To put it simply; it sells your pieces.
As a keen photographer myself, being in front of the camera can sometimes be conflicting and quite frustrating. I want things done my way and that can come down to the smallest of details. Luckily, Ben is pretty used to this by now and he knows that I need a mid-shot, close up, side, back and front for each item. But, I can't stress enough how important angles are! Whether that's your most flattering angles or the direction that shows the garment off the best. For example, pants, skirts and dresses should be shot from a low angle (yes-this means literally getting your photographer to lie on the floor). Shirts need a mixture of close-ups (to show the texture and details in the fabric), back, front and side shots. I see so many online stores that either don't take enough angled shots of their pieces or the shots they do have are all of the front, as this is obviously the easiest. Buyers want to get a feel for the garment and how it will look on them. This means providing as much information in your photos as possible.
I could probably write about this forever and I'm sure there are many things I'm forgetting to mention, but I'd be happy to create a part two at some point! I'm still very much learning about the ins and outs of this job myself, but I'd like to think I've picked up some useful knowledge over this first year that could help some of you. There are so many different aspects that go into selling an item, but good presentation is the first step to creating something that people want to spend their money on. Basically, good photos = sales!!
See my store here
Bella 🌼
No comments :
Post a Comment